Setup macOS
A one-time setup of your Mac so the kit can build, run, and ship Android apps. You do this once per computer. Follow the steps in order — each ends with a quick check so you know it worked before moving on.
On Windows? Use Setup Windows. On Linux? Use Setup Linux.
The fast path: install the tools below, then — after you've cloned the kit — run
/kit-env-checkinside it. That command verifies everything in one shot and prints the exact fix for anything missing.
What you're installing:
- Homebrew — package manager
- JDK 17 or newer — the Java the build runs on (17 and 21 both work)
- Android Studio — only to download the Android SDK (you won't code in it, and you don't need it for emulators — the
androidCLI creates and starts those) ANDROID_HOME— tells the tools where the SDK lives- Node.js — runs the CLI agents (Claude Code, OpenCode, Codex); install it if you use one
- An AI agent — Claude Code, Cursor, Antigravity, OpenCode, or Codex (runs the
/kit-*commands) - android CLI + Android Skills — Android know-how for the agent
- GitHub CLI (
gh) — backs your app up to GitHub (used by/kit-save-to-github) - scrcpy (optional) — screen mirroring
💡 You do not write code in Android Studio. The kit is built entirely from the terminal via your AI agent. Android Studio is here only to download the Android SDK.
1. Homebrew — package manager
/bin/bash -c "$(curl -fsSL https://raw.githubusercontent.com/Homebrew/install/HEAD/install.sh)"
Verify: brew --version
2. JDK 17 (or newer)
brew install openjdk@17
Then add it to your shell (~/.zshrc):
echo 'export JAVA_HOME="/opt/homebrew/opt/openjdk@17"' >> ~/.zshrc
echo 'export PATH="$JAVA_HOME/bin:$PATH"' >> ~/.zshrc
source ~/.zshrc
Verify: java -version → should show 17.x.
3. Android Studio
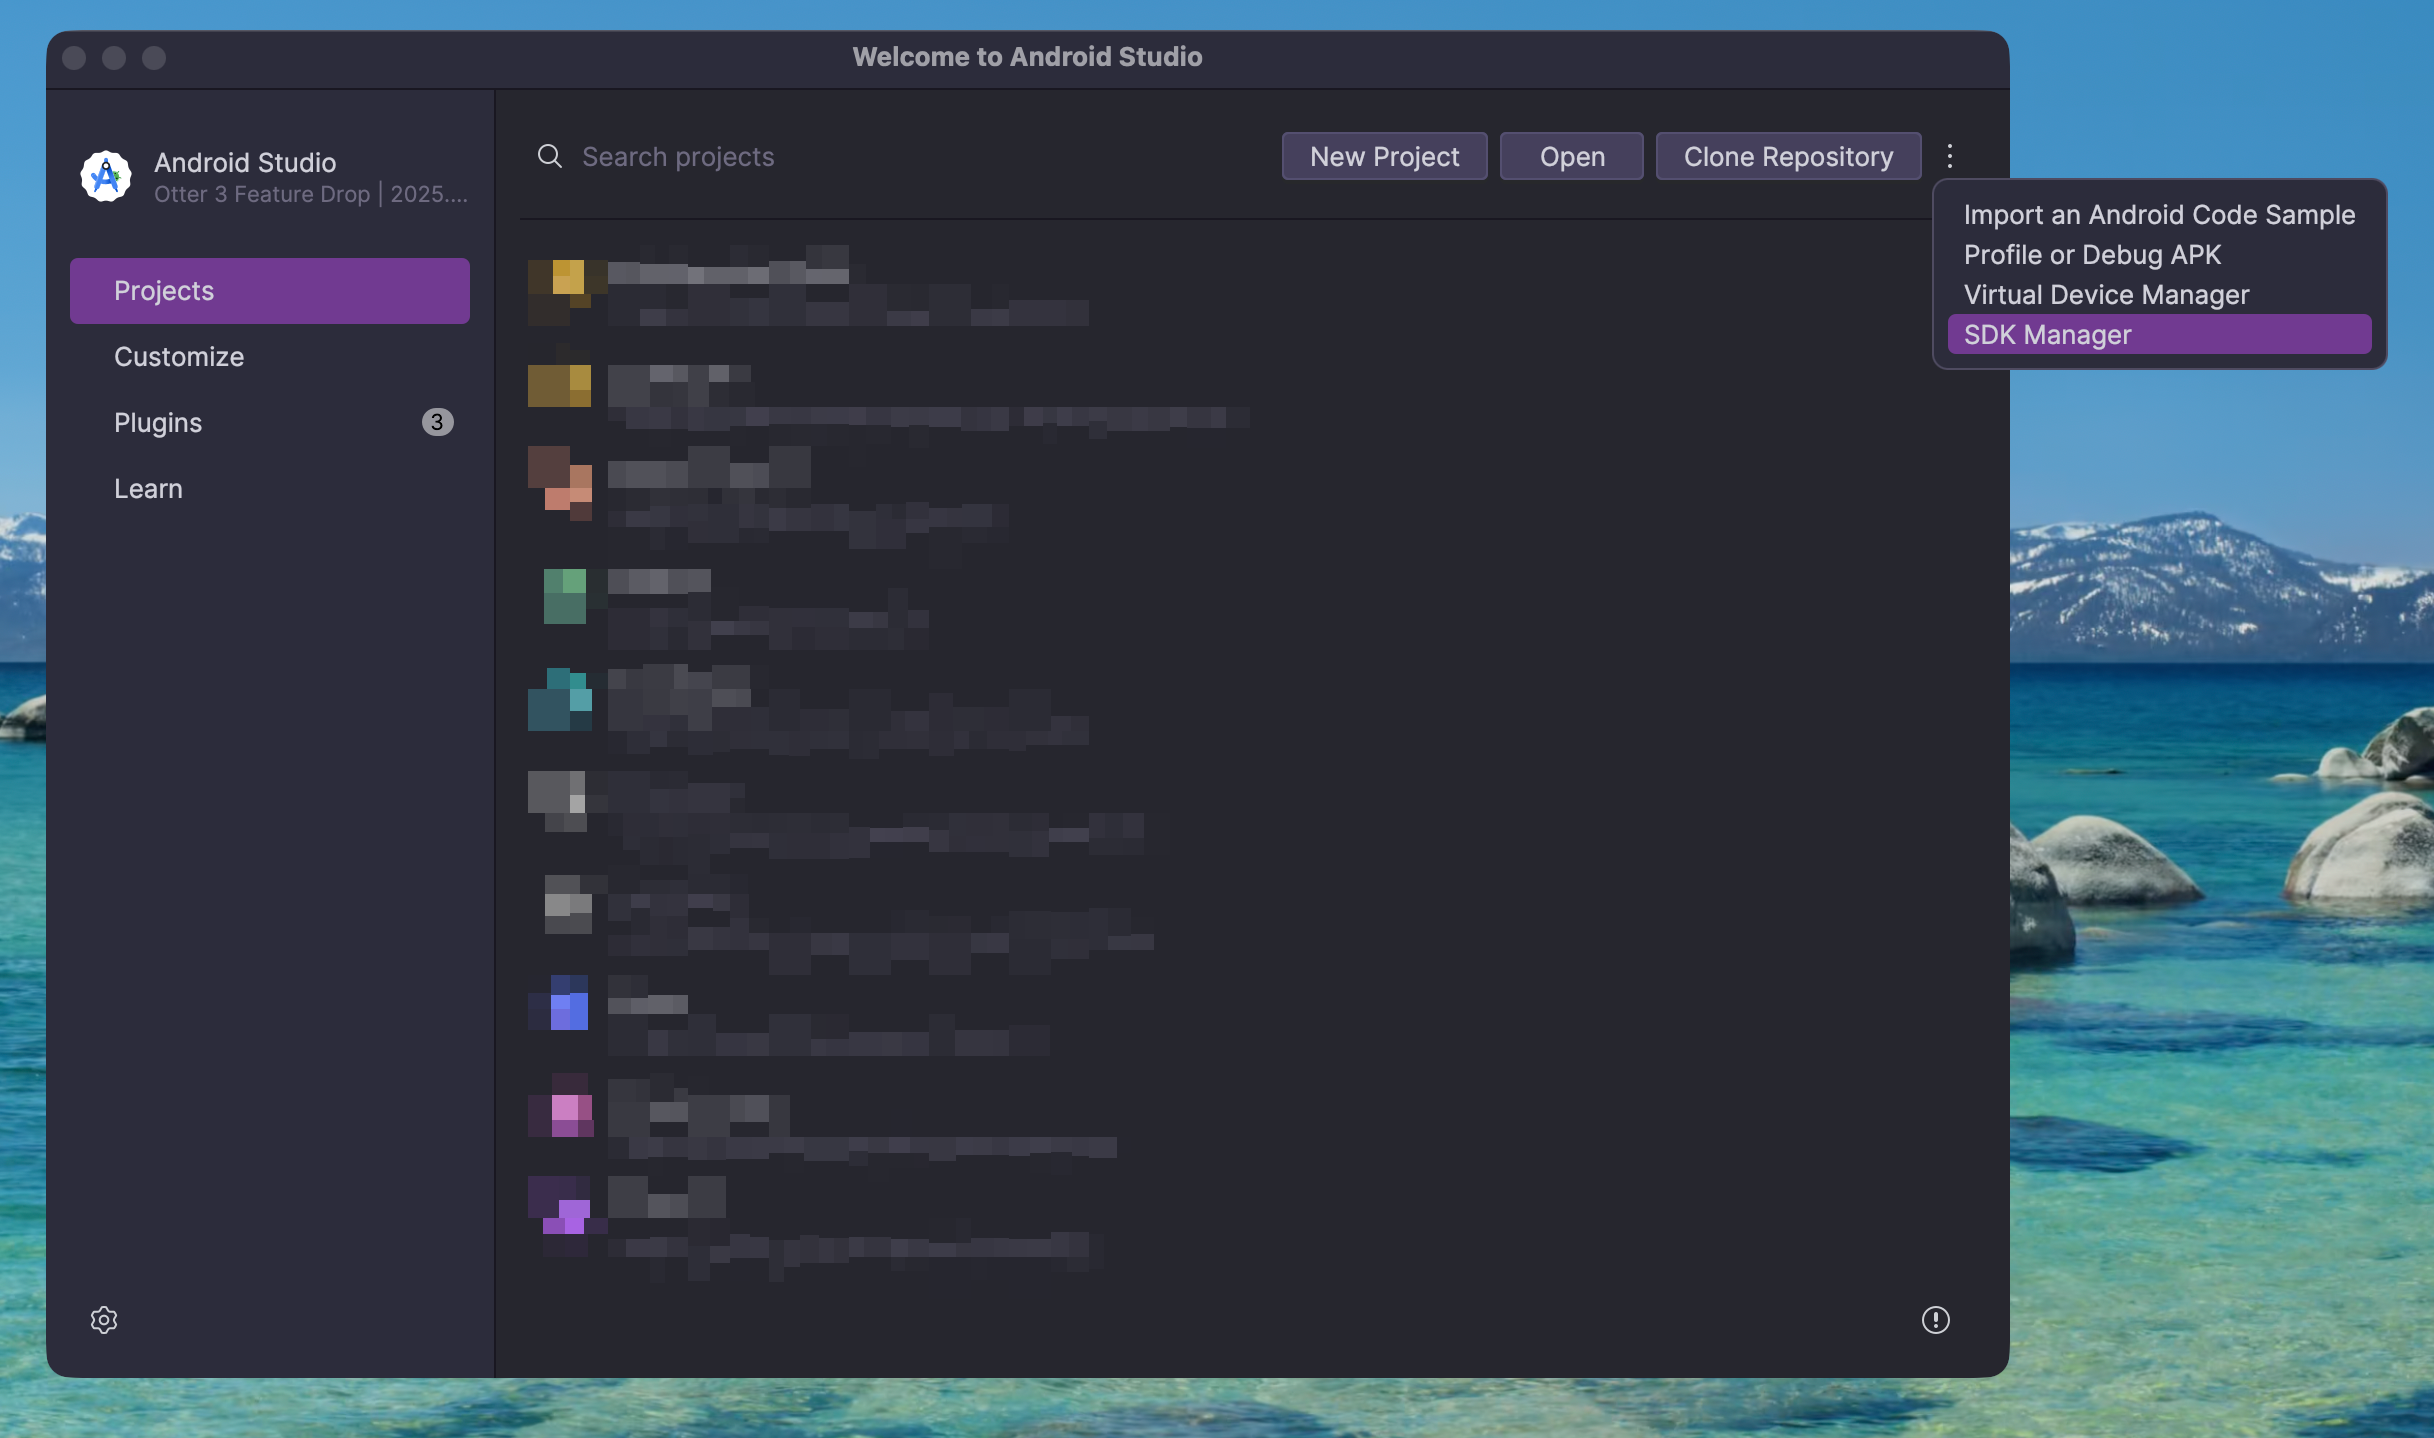
Download from developer.android.com/studio and install. On first launch, open SDK Manager (the ⋮ menu next to Clone Repository → SDK Manager):
In the SDK Manager, enable:
- Android 15 (API 35) — the platform
- Android SDK Command-line Tools (latest) — under the SDK Tools tab
Click Apply to download.
4. ANDROID_HOME
Add to ~/.zshrc:
echo 'export ANDROID_HOME="$HOME/Library/Android/sdk"' >> ~/.zshrc
echo 'export PATH="$ANDROID_HOME/platform-tools:$ANDROID_HOME/cmdline-tools/latest/bin:$ANDROID_HOME/emulator:$PATH"' >> ~/.zshrc
source ~/.zshrc
Verify: adb --version.
5. Node.js
brew install node
Verify: node --version (v18+).
6. An AI agent
Pick any one (all five run the /kit-* commands):
- Claude Code —
npm install -g @anthropic-ai/claude-code, thenclaudeto log in - OpenCode —
npm install -g opencode-ai, thenopencode - Codex —
npm install -g @openai/codex, thencodex - Cursor — download the app from cursor.com
- Google Antigravity — download from antigravity.google
The CLI agents (Claude Code, OpenCode, Codex) need Node.js from the previous step; Cursor and Antigravity are standalone apps. See Requirements for what each is.
Verify (CLI agents): claude --version or opencode --version.
7. android CLI + Android Skills
Download the android CLI from developer.android.com/tools/agents, then:
android update
android skills add --all
Verify: android --version and android skills list.
8. GitHub CLI (gh)
gh is how the kit backs your app up to your own private GitHub repo — /kit-save-to-github
uses it to create the repo and push, with no git commands for you to learn. Install it and log in
once:
brew install gh
gh auth login
At the prompts pick GitHub.com → HTTPS → Login with a web browser. Verify: gh auth status.
Other install methods (including a download binary) are on GitHub's official page,
cli.github.com.
Prefer clicking to typing? GitHub Desktop (optional) is a friendly GUI for the same thing — see your changes and push with a button. The kit works with either;
ghis what/kit-save-to-githubautomates for you.
scrcpy (optional)
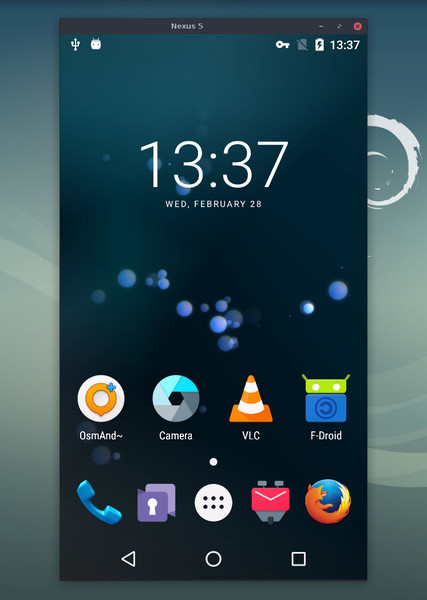
scrcpy mirrors your Android phone on your Mac — you see the screen in a window and control it with your mouse and keyboard. Great for testing and recording without picking up the device.
brew install scrcpy
Verify everything — /kit-env-check
Once the tools are installed and you've created your project, open it in your AI agent and run:
/kit-env-checkIt checks JDK 17+, ANDROID_HOME, adb, the android CLI, the Android Skills, and the optional
tools — and prints the exact install command for anything still missing. Green across the board
means you're ready.
Troubleshooting
| Problem | Fix |
|---|---|
java -version shows the wrong version | Re-check the JAVA_HOME export points at JDK 17 |
adb: command not found | ANDROID_HOME / Path not set, or terminal not restarted |
android: command not found | The android CLI isn't on your Path — re-add it |
Build: SDK location not found | Wrong sdk.dir in local.properties |
| Nothing works after editing env vars | Restart the terminal |
Still stuck? Run /kit-env-check — it diagnoses and prints the fix.
Next: Creating a New Project — clone the kit and run it for the first time.